The Cast Spreader: A Cornerstone Instrument in Orthopedic Care
Welcome to Dr. Mohammed Hutaif's comprehensive guide on the cast spreader, an often-overlooked yet critically important instrument in modern orthopedic practice. While many patients are familiar with the cast itself, the tools used for its safe and effective management are equally vital. This guide aims to demystify the cast spreader, providing an authoritative, exhaustive, and easy-to-understand overview of its design, applications, and significance in ensuring optimal patient outcomes.
1. Comprehensive Introduction & Overview
A cast spreader is a specialized orthopedic instrument designed to gently and safely widen a cast, typically after it has been cut or to create space for a cast saw blade. Its primary function is to facilitate the removal, adjustment, or inspection of a cast with minimal discomfort and maximum safety for the patient. Far from being a crude tool, the cast spreader is engineered with precision to apply controlled, gradual force, preventing sudden stress on the healing limb or surrounding tissues.
In the journey of fracture healing or post-operative recovery, a cast plays a crucial role in immobilizing the affected area. However, the eventual removal or necessary adjustments of this cast require expertise and the right instruments. The cast spreader is an indispensable part of this process, allowing healthcare professionals to access the limb beneath the cast, relieve pressure, or remove the cast entirely, ensuring the patient's comfort and the integrity of the healing process. Its presence in an orthopedic clinic signifies a commitment to patient-centered care, where every step of treatment, including cast management, is handled with meticulous attention to detail.
2. Deep-Dive into Technical Specifications & Mechanisms
The effectiveness of a cast spreader lies in its sophisticated yet simple design and the biomechanical principles it employs.
2.1. Design and Materials
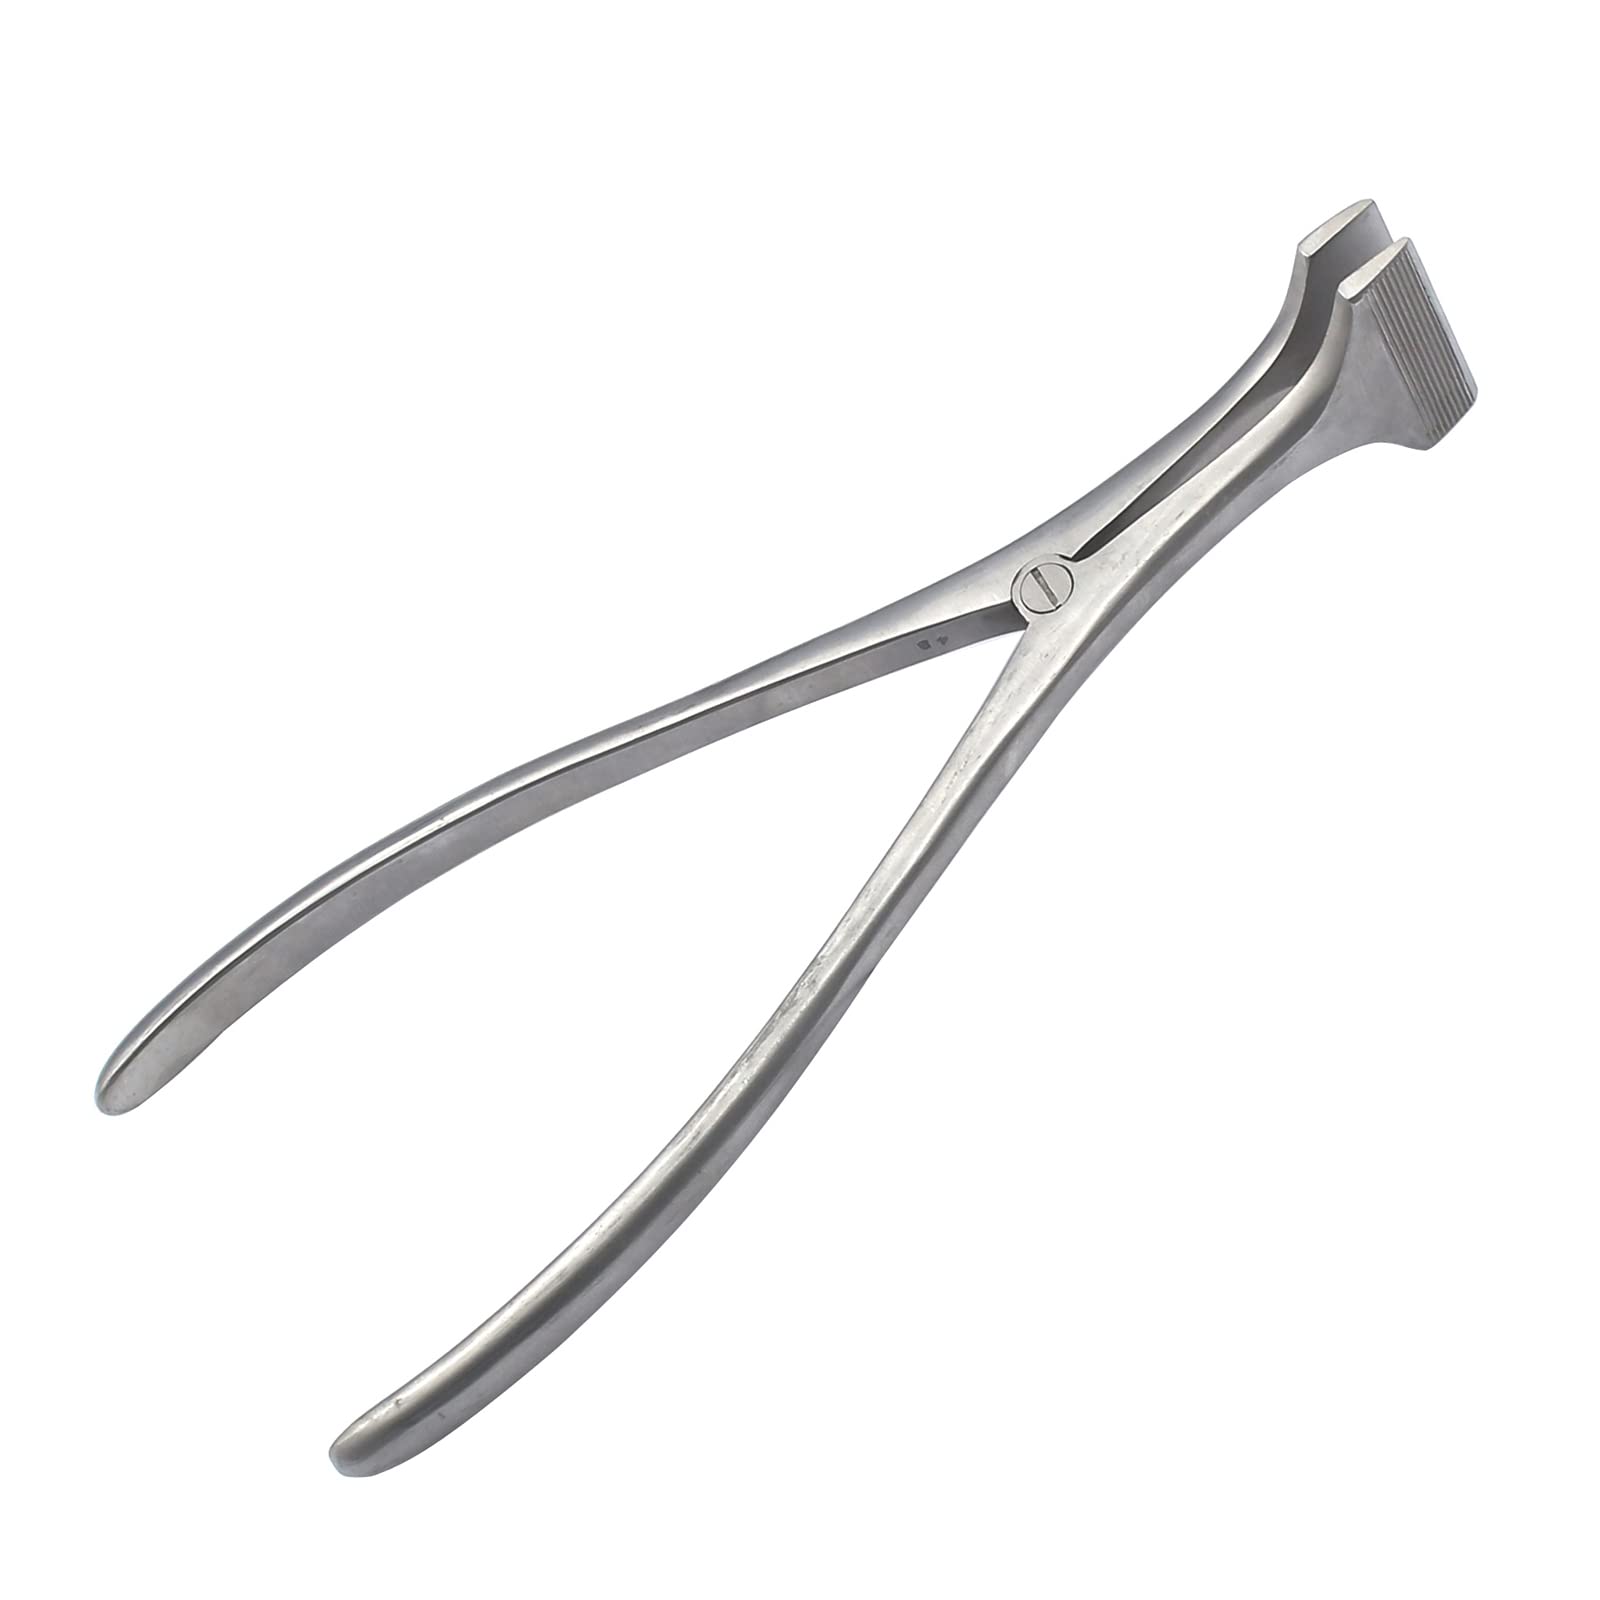
- High-Quality Materials: Most cast spreaders are crafted from medical-grade stainless steel. This material is chosen for its exceptional durability, resistance to corrosion (even after repeated sterilization cycles), and ability to maintain a sharp edge or precise form over time. Stainless steel also offers a smooth, non-porous surface, crucial for hygiene.
- Leverage Mechanism: The instrument typically features two arms joined at a pivot point, resembling a pair of pliers or scissors. The handles are designed for ergonomic grip, allowing the operator to apply force comfortably and precisely.
- Spreading Jaws/Blades: The working end consists of two blunt, often slightly curved or flat jaws. These jaws are meticulously designed with smooth, rounded edges to prevent any sharp contact or injury to the patient's skin or the cast material itself. Their shape allows them to be inserted into a narrow gap and then spread outwards.
- Variations in Design:
- Manual Spreaders: The most common type, operated by hand pressure on the handles.
- Ratchet Mechanisms: Some models incorporate a ratchet or locking mechanism that allows the jaws to be held open at a specific width, freeing the operator's hands if needed.
- Sizes: Cast spreaders come in various sizes, from smaller versions suitable for pediatric casts or intricate areas (e.g., wrist casts) to larger, more robust models for adult leg or torso casts. This ensures appropriate force distribution and access for different anatomical locations and cast types.
2.2. Mechanisms of Action
The cast spreader operates on the principle of leverage. When the operator squeezes the handles, the pivot point acts as a fulcrum, amplifying the force and translating it into an outward spreading motion at the jaws.
- Controlled Expansion: The key aspect of its mechanism is the ability to achieve gradual, controlled expansion. Unlike sudden force, this controlled spreading minimizes the risk of startling the patient, causing discomfort, or inadvertently damaging the underlying limb.
- Gap Creation: When inserted into a pre-cut line in a cast (often made by a cast saw), the spreader widens this gap. This action allows for easier separation of cast halves, reduces friction during removal, and provides ample space for subsequent actions like padding adjustment or skin inspection.
- Stress Distribution: By applying force evenly across the contact points of its jaws, the spreader distributes stress over a larger area of the cast, preventing localized pressure points that could otherwise crack the cast unevenly or cause discomfort.
- Biomechanics for Patient Safety: From a biomechanical perspective, the controlled force application ensures that the stress transferred to the limb is minimal and non-injurious. The blunt, smooth jaws are designed to slide along the skin or padding without tearing or pinching, prioritizing patient safety and comfort during the entire process.
3. Extensive Clinical Indications & Usage
The cast spreader is a versatile tool with several critical applications in orthopedic patient care.
3.1. Primary Clinical Indications
- Cast Removal: This is the most common application. Once a fracture has healed sufficiently, or the post-operative period is complete, the cast needs to be removed. After the cast has been cut longitudinally (often into two halves) using a cast saw, the spreader is used to gently pry open these halves, allowing for easy and trauma-free separation and removal.
- Cast Adjustment or Modification:
- Relieving Pressure: If a patient develops a localized pressure point, swelling, or discomfort within the cast, the spreader can be used to temporarily widen a section of the cast, allowing for adjustment of padding or identification of the problem area without full cast removal.
- Tightness/Looseness: As swelling subsides, a cast may become too loose and require re-padding or even re-casting. Conversely, unexpected swelling can make a cast too tight. The spreader can assist in widening a tight cast or creating access for additional padding.
- Skin Inspection and Wound Care:
- Monitoring Skin Integrity: In patients with prolonged casting, or those prone to skin issues (e.g., diabetics), the ability to temporarily spread the cast allows healthcare providers to inspect the skin underneath for signs of irritation, sores, or infection without completely removing the protective cast.
- Dressing Changes: For patients with open wounds or surgical incisions beneath the cast, the spreader can create sufficient access for sterile dressing changes, minimizing the need for full cast removal and reapplication.
- Facilitating Cast Saw Use: In some scenarios, the spreader can be used to slightly open a tight cast line, providing a clearer path and reducing friction for the cast saw blade, enhancing safety and efficiency during the cutting process.
3.2. Detailed Usage Instructions (for healthcare professionals, explained for patient understanding)
The process of using a cast spreader is precise and requires trained personnel.
- Patient Education and Preparation: The healthcare professional will explain the procedure to the patient, ensuring they understand what to expect. The patient is positioned comfortably, and the limb is supported.
- Initial Cast Modification: If the cast is to be fully removed, it is typically cut longitudinally using a specialized cast saw. This creates one or more lines of separation.
- Insertion of Spreader Jaws: The blunt jaws of the cast spreader are carefully inserted into the cut line of the cast, or gently wedged between the cast edge and the underlying padding/skin. Great care is taken to ensure no direct contact with the skin.
- Gradual Spreading: The operator then slowly and steadily squeezes the handles of the spreader. This action gradually widens the gap in the cast. The process is monitored carefully, with constant communication with the patient to assess comfort levels.
- Sectional Removal/Adjustment: Once a sufficient gap is created, the cast halves can be gently separated, or the necessary adjustments (e.g., adding padding, inspecting skin) can be made. The spreader may be repositioned along the length of the cast to achieve uniform widening.
- Post-Procedure Care: After the cast is removed or adjusted, the limb is carefully inspected for any skin issues. The patient receives instructions on skin care and rehabilitation.
4. Risks, Side Effects, or Contraindications
While the cast spreader is a safe instrument when used correctly by trained professionals, it's important to be aware of potential risks and situations where its use might be limited.
4.1. Potential Risks (primarily due to improper technique)
- Skin Pinching or Laceration: Although the jaws are designed to be blunt and smooth, improper placement or excessive force can potentially pinch or abrade the skin, especially if the underlying padding is thin or displaced.
- Excessive Pressure/Discomfort: Applying too much force too quickly can cause discomfort or localized pressure. While rare, extreme pressure could potentially bruise soft tissues.
- Damage to Underlying Tissues: If the spreader is inserted too deeply or manipulated aggressively, it could theoretically cause injury to muscles or nerves, though this is highly unlikely with standard practice.
- Re-fracture or Displacement: In cases where a fracture is not fully healed, or the bone is osteoporotic, excessive or sudden movement during cast removal could theoretically lead to re-fracture or displacement of bone fragments. This is why gentle, controlled spreading is paramount.
- Infection: As with any medical instrument, inadequate sterilization between uses poses a risk of infection, though this is mitigated by strict hospital protocols.
4.2. Contraindications or Precautions
- Unstable Fractures: In situations where the fracture is still highly unstable, and any movement could jeopardize healing or cause further injury, direct manipulation of the cast with a spreader might be avoided in favor of a full, cautious cast saw removal.
- Extremely Fragile Skin/Severe Skin Conditions: Patients with very fragile skin (e.g., elderly, certain dermatological conditions) or open wounds directly beneath the cast require extra vigilance. The spreader might be used with extreme caution or alternative methods considered.
- Patient Non-Cooperation: For uncooperative patients, particularly young children or those with cognitive impairments, careful sedation might be required to ensure safe removal and prevent sudden movements that could lead to injury.
- Suspected Compartment Syndrome: This is an orthopedic emergency. If compartment syndrome (dangerous pressure buildup within muscles) is suspected, immediate, complete cast removal (often by bivalving and spreading) is critical, but the focus is on rapid relief, and the spreader is used as part of an urgent protocol.
5. Expert Tips from Dr. Mohammed Hutaif
As an orthopedic specialist, I've overseen countless cast removals and adjustments. Here are my key recommendations and insights regarding the use of cast spreaders:
- Patient Communication is Paramount: Always explain the process clearly to the patient, especially children. Reassure them that it will be done gently and that you will stop if they experience discomfort. A calm, informed patient is a cooperative patient.
- "Gentle but Firm" Technique: The art of using a cast spreader lies in applying controlled, steady pressure. It's about gradual widening, not forceful prying. Listen to the patient's feedback and observe their reactions.
- Prioritize Skin Protection: Always ensure the cast padding is intact and that the spreader jaws are never in direct contact with the skin. The goal is to separate the cast, not to interact with the limb directly.
- Correct Instrument Selection: Use the appropriate size spreader for the cast and anatomical location. A smaller spreader might be insufficient for a large cast, while an oversized one could be unwieldy and less precise.
- Regular Maintenance and Sterilization: Like all surgical instruments, cast spreaders must undergo rigorous cleaning and sterilization protocols after each use. This prevents infection and ensures the instrument remains in optimal working condition.
- Thorough Post-Removal Inspection: Once the cast is off, always perform a meticulous inspection of the skin for any redness, pressure marks, or abrasions. This helps identify any areas that may have experienced undue pressure and allows for immediate addressing of skin care needs.
- Never Rush the Process: Cast removal is not a race. Take your time to ensure it's done safely, comfortably, and effectively, preserving the integrity of the healing limb.
6. Massive FAQ Section
Here are some frequently asked questions about the cast spreader, answered in detail:
Q1: What exactly is a cast spreader used for?
A1: A cast spreader is primarily used in orthopedics to gently widen a cast, typically after it has been cut with a cast saw. This widening action makes it easier and safer to remove the cast, adjust its fit, inspect the skin underneath, or access wounds for dressing changes without causing discomfort or injury to the patient.
Q2: Is cast removal painful when a spreader is used?
A2: When used correctly by a trained healthcare professional, cast removal with a spreader should not be painful. The instrument is designed to apply gradual, controlled pressure to the cast itself, not to the patient's skin or limb. You might feel a sensation of pressure or stretching, but sharp pain is highly unlikely. Your doctor will constantly communicate with you to ensure your comfort.
Q3: How does the cast spreader work to open a cast?
A3: The cast spreader works on the principle of leverage. It has two arms with blunt jaws that are inserted into a cut line in the cast. When the operator squeezes the handles, the jaws slowly spread apart, gently prying open the cast. This controlled spreading minimizes stress and allows for easy separation of the cast material.
Q4: What materials are cast spreaders typically made from?
A4: Most cast spreaders are manufactured from high-quality, medical-grade stainless steel. This material is chosen for its exceptional strength, durability, resistance to rust and corrosion, and ease of sterilization, ensuring the instrument remains hygienic and effective over many uses.
Q5: Can a cast spreader be used on all types of casts (e.g., fiberglass, plaster)?
A5: Yes, a cast spreader can be effectively used on both fiberglass and plaster casts. Its purpose is to widen a pre-existing cut or gap in the cast material. The type of cast material doesn't significantly alter its function, as long as the cast has been appropriately prepared for spreading.
Q6: Is it safe to use a cast spreader near my skin?
A6: Absolutely. Patient safety is the paramount concern in the design and use of a cast spreader. The jaws are specifically engineered with blunt, smooth edges to prevent skin pinching or laceration. Furthermore, trained professionals ensure that the spreader is inserted into the cast's cut line and interacts with the cast padding, not directly with your skin.
Q7: What precautions do doctors take when using a cast spreader?
A7: Doctors and trained medical staff take several precautions:
* Patient Communication: Explaining the process and checking for discomfort.
* Careful Placement: Ensuring the jaws are properly inserted into the cast cut, away from the skin.
* Gradual Pressure: Applying slow, controlled force to prevent sudden movements.
* Limb Support: Ensuring the limb is stable and supported during the procedure.
* Sterilization: Using only properly sterilized instruments.
* Post-Removal Inspection: Thoroughly checking the skin after the cast is off.
Q8: How long does it take to remove a cast using a spreader?
A8: The actual act of spreading and removing a cast, once it has been cut, is quite quick, often taking just a few minutes. The entire process, including patient preparation, initial cutting with a cast saw, spreading, removal, and post-removal inspection, typically takes between 10 to 20 minutes, depending on the cast's size and complexity.
Q9: Can I use a cast spreader to remove my cast at home?
A9: Absolutely not. Attempting to remove a cast at home with any tool, especially a cast spreader, is extremely dangerous and strongly discouraged. Cast removal requires specialized instruments, training, and a controlled clinical environment to prevent serious injury to the limb, skin, or underlying tissues. Always leave cast removal to qualified healthcare professionals.
Q10: What happens after the cast is removed with a spreader?
A10: After the cast is removed, your doctor will inspect your skin for any issues and assess the healing of your fracture or surgical site. You'll likely notice your skin is dry, pale, and possibly flaky, and your muscles may appear smaller and feel stiff. Your doctor will provide instructions on skin care, gentle exercises, and potentially refer you for physical therapy to regain strength and mobility.
Q11: Are there different sizes of cast spreaders for different body parts?
A11: Yes, cast spreaders come in various sizes. Smaller versions are suitable for pediatric casts or casts on smaller limbs like wrists or hands, allowing for more delicate and precise manipulation. Larger, more robust spreaders are used for adult leg, arm, or body casts, where greater leverage and spreading capacity are needed.
Q12: How is a cast spreader cleaned and maintained?
A12: Cast spreaders, like all reusable surgical instruments, undergo a strict sterilization process after each use. This typically involves:
* Decontamination: Initial cleaning to remove visible debris.
* Washing: Manual or automated washing with specialized detergents.
* Disinfection: High-level disinfection if not immediately sterilized.
* Sterilization: Autoclaving (steam sterilization) is the most common method, ensuring all microorganisms are destroyed.
* Inspection: Regular inspection for wear, damage, or corrosion to ensure the instrument remains safe and functional.
This meticulous maintenance ensures the cast spreader is always safe, hygienic, and ready for its critical role in patient care.
Disclaimer: This information is for educational purposes only and is not medical advice. Always consult with a qualified healthcare professional for any medical concerns or before making any decisions related to your health or treatment.